Back in late 2023 I was helping a friend to produce a Christmas edition of a live stream in which he wanted to include a “review of the year”, illustrated by photographs. I was using the Magewell Director Mini for camera switching, intro & outro videos and other graphics, but it doesn’t have a simple way of handling multi-image sequences, let alone a way of letting the presenter control that sequence.

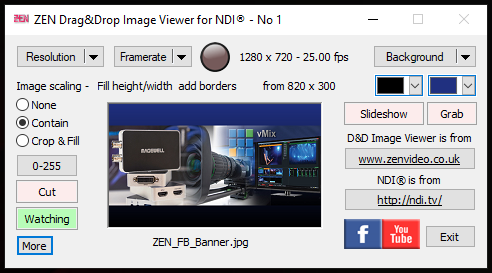
What the Director Mini does have is the ability to use NDI sources, so my first thought was to use the NDI Drag & Drop Image Viewer for the assorted photographs, which is fairly simple to use. But even that might have been too complex in this instance, so I decided to add a simple slideshow feature to it, which can step through a collection of numbered image files and can be controlled by a keyboard, mouse or USB XBox game controller (which is what we ended up using).

The Simple Slideshow
Being “simple” rather than “sophisticated”, the Slideshow feature does have a few restrictions on file naming – all image files must have the same base name, be in the same folder, and use the same numbering format in terms of leading zeros – but they don’t have to be strictly sequential, so you can create sequence groups and leave gaps in the numbering in order to potentially insert more (without renumbering existing files), or you can quickly remove a file from the common folder if it’s not required.

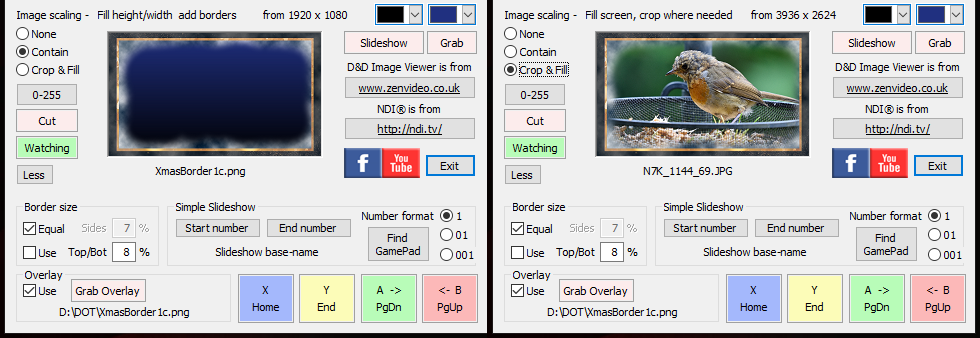
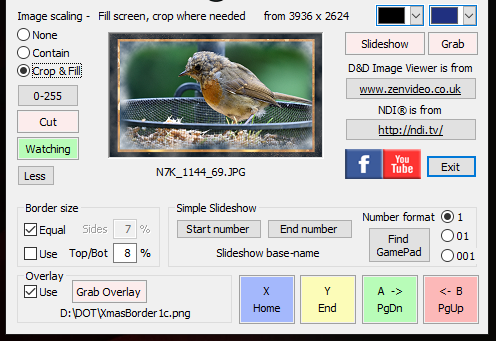
These new features in v2.0 are accessed via the More button, which expands the user interface when needed. It’s fairly quick to set up the Slideshow once you have your folder of numbered image files, just drag the first and last image from the sequence into the NDI Image Viewer, identify it by clicking the appropriate Start Number or End Number button and you’re good to go.

Border Overlays
In addition, because it was a Christmas show, I though it would be fun to be able to add a “Christmassy” border to frame the images. The first task was to add a mechanism to grab & store a drag-&-dropped border image (a .PNG with transparency) into a frame buffer, and then optionally overlay it onto the output.

This worked well enough, except that if the subsequent images behind the border overlay had something important near the edges of frame (like someone’s face), then that part would be hidden by the border. In order to combat that issue, the final step was to add a “Border size” feature to shrink the target area used by the image sizing functions so that loaded images would be resized to fit inside the border overlay, rather than the full NDI frame size.

Read more about the new Slideshow & Border Overlay features in version 2 of the NDI Drag & Drop Image Viewer
UPDATE – Jan-2025 – The Slideshow function now has an auto-advance & loop function , with a variable (global) slide duration between 2 – 240 seconds. Available in v2.0.2.28 onwards.

